Stake Tokens
Duration: 30 days
Expected APY: 5.2%
{!isLoadingAnyspendPrice &&Total Cost: ${anyspendPrice?.usdPrice}
}| Component | React Web | React Native |
|---|---|---|
| `AnySpend` | ✅ | ✅ |
| `AnySpendNFTButton` | ✅ | ✅ |
| `AnySpendCustom` | ✅ | ✅ |
| `AnySpendNFT` | ✅ | ✅ |
| Fiat onramp features | ✅ | ❌ |
| Status | Description | User Action Required |
|---|---|---|
| `scanning_deposit_transaction` | Waiting for payment confirmation | None - wait for blockchain confirmation |
| `waiting_stripe_payment` | Processing credit card payment | May need to complete 3D Secure |
| `sending_token_from_vault` | Sending tokens for swap | None - automatic process |
| `relay` | Cross-chain transaction in progress | None - wait for completion |
| `executed` | Transaction completed successfully | None - success! |
| `expired` | Order expired before completion | Create new order |
| `refunding` | Automatic refund in progress | None - wait for refund |
| `refunded` | Refund completed | Check wallet for refunded tokens |
| `failure` | Transaction failed | Review error details, retry |
Unable to load order status
Please check your connection and try again.
⏳ Waiting for payment confirmation
This usually takes 1-2 minutes. Please don't close this window.
{depositTxs.length > 0 && ( View payment transaction )}🔄 Processing cross-chain transaction
Your payment is being processed. This may take a few minutes.
Transaction completed successfully!
Your order has been processed.
{executeTx && ( View transaction )}Transaction failed
{order.errorDetails || "An error occurred while processing your order."}
Refund processed
Your payment has been refunded automatically.
{refundTxs.length > 0 && ( View refund transaction )}Order expired
This order expired before payment was received.
Processing...
Order status: {order.status}
Order #{orderId.slice(0, 8)}
Debug Information
{JSON.stringify(order, null, 2)}
Something went wrong
An unexpected error occurred in the payment component.
Error details
{error.message}
{errorInfo.title}
{errorInfo.message}
{errorInfo.action &&{errorInfo.action}
}No Internet Connection
Please check your connection and try again.
⚠️ Slow network detected. Transactions may take longer than usual.
Processing your payment... This may take 2-3 minutes.
Swap Tokens
{nft.name}
{nft.description}
Selected: {selectedNFTs.length} NFTs
Total: {calculateTotal(selectedNFTs)} ETH
{pool.name}
APY: {pool.apy}%
TVL: ${pool.totalValueLocked.toLocaleString()}
Expected rewards: {expectedRewards} {pool.token.symbol}
Stake {pool.token.symbol}
{game.name}
Cost per spin: {game.spinCost} {game.currency.symbol}
Possible Prizes:
{game.prizes.map((prize, index) => (Recent Spins
{spinHistory.map((spin, index) => ({tournament.name}
Prize Pool: ${tournament.prizePool.toLocaleString()}
Entry Fee: {tournament.entryFee} {tournament.currency.symbol}
Players: {tournament.currentPlayers}/{tournament.maxPlayers}
Starts: {new Date(tournament.startTime).toLocaleString()}
Tournament starts {formatTimeUntil(tournament.startTime)}
Rules
-
{tournament.rules.map((rule, index) => (
- {rule} ))}
Welcome! Let's get you started
First, connect your wallet to continue.
Buy your first crypto
Purchase tokens with your credit card to get started.
You're all set! 🎉
Your crypto purchase is complete. Here's what you can do next:
Order Summary
{cart.map((item) => (Payment Method
Portfolio Rebalancing
Current Allocation
Target Allocation
Rebalancing Plan
{rebalancingPlan.map((action, index) => (You'll receive: {anyspendQuote?.expectedOutput} ETH
Network fee: ${anyspendQuote?.networkFeeUsd}
Service fee: ${anyspendQuote?.serviceFeeUsd}
Total cost: ${anyspendQuote?.totalUsdCost}
Order #{orderId.slice(0, 8)}
{getStatusMessage(order.status)}
{depositTxs.length > 0 && (Payment Transaction
View on EtherscanExecution Transaction
View on B3 ExplorerYour Orders
{orderHistory?.data.map((order) => (Type: {order.type}
Status: {order.status}
Amount: {order.srcAmount} {order.srcToken.symbol}
Date: {new Date(order.createdAt).toLocaleDateString()}
 ## What is AnySpend?
AnySpend is B3's comprehensive payment infrastructure that enables seamless crypto transactions across multiple blockchains. Whether you're building a DeFi application, NFT marketplace, or gaming platform, AnySpend provides the components and APIs you need to accept payments in any token.
[Try AnySpend in your browser](https://anyspend.com/swap)
## Use Cases
## What is AnySpend?
AnySpend is B3's comprehensive payment infrastructure that enables seamless crypto transactions across multiple blockchains. Whether you're building a DeFi application, NFT marketplace, or gaming platform, AnySpend provides the components and APIs you need to accept payments in any token.
[Try AnySpend in your browser](https://anyspend.com/swap)
## Use Cases
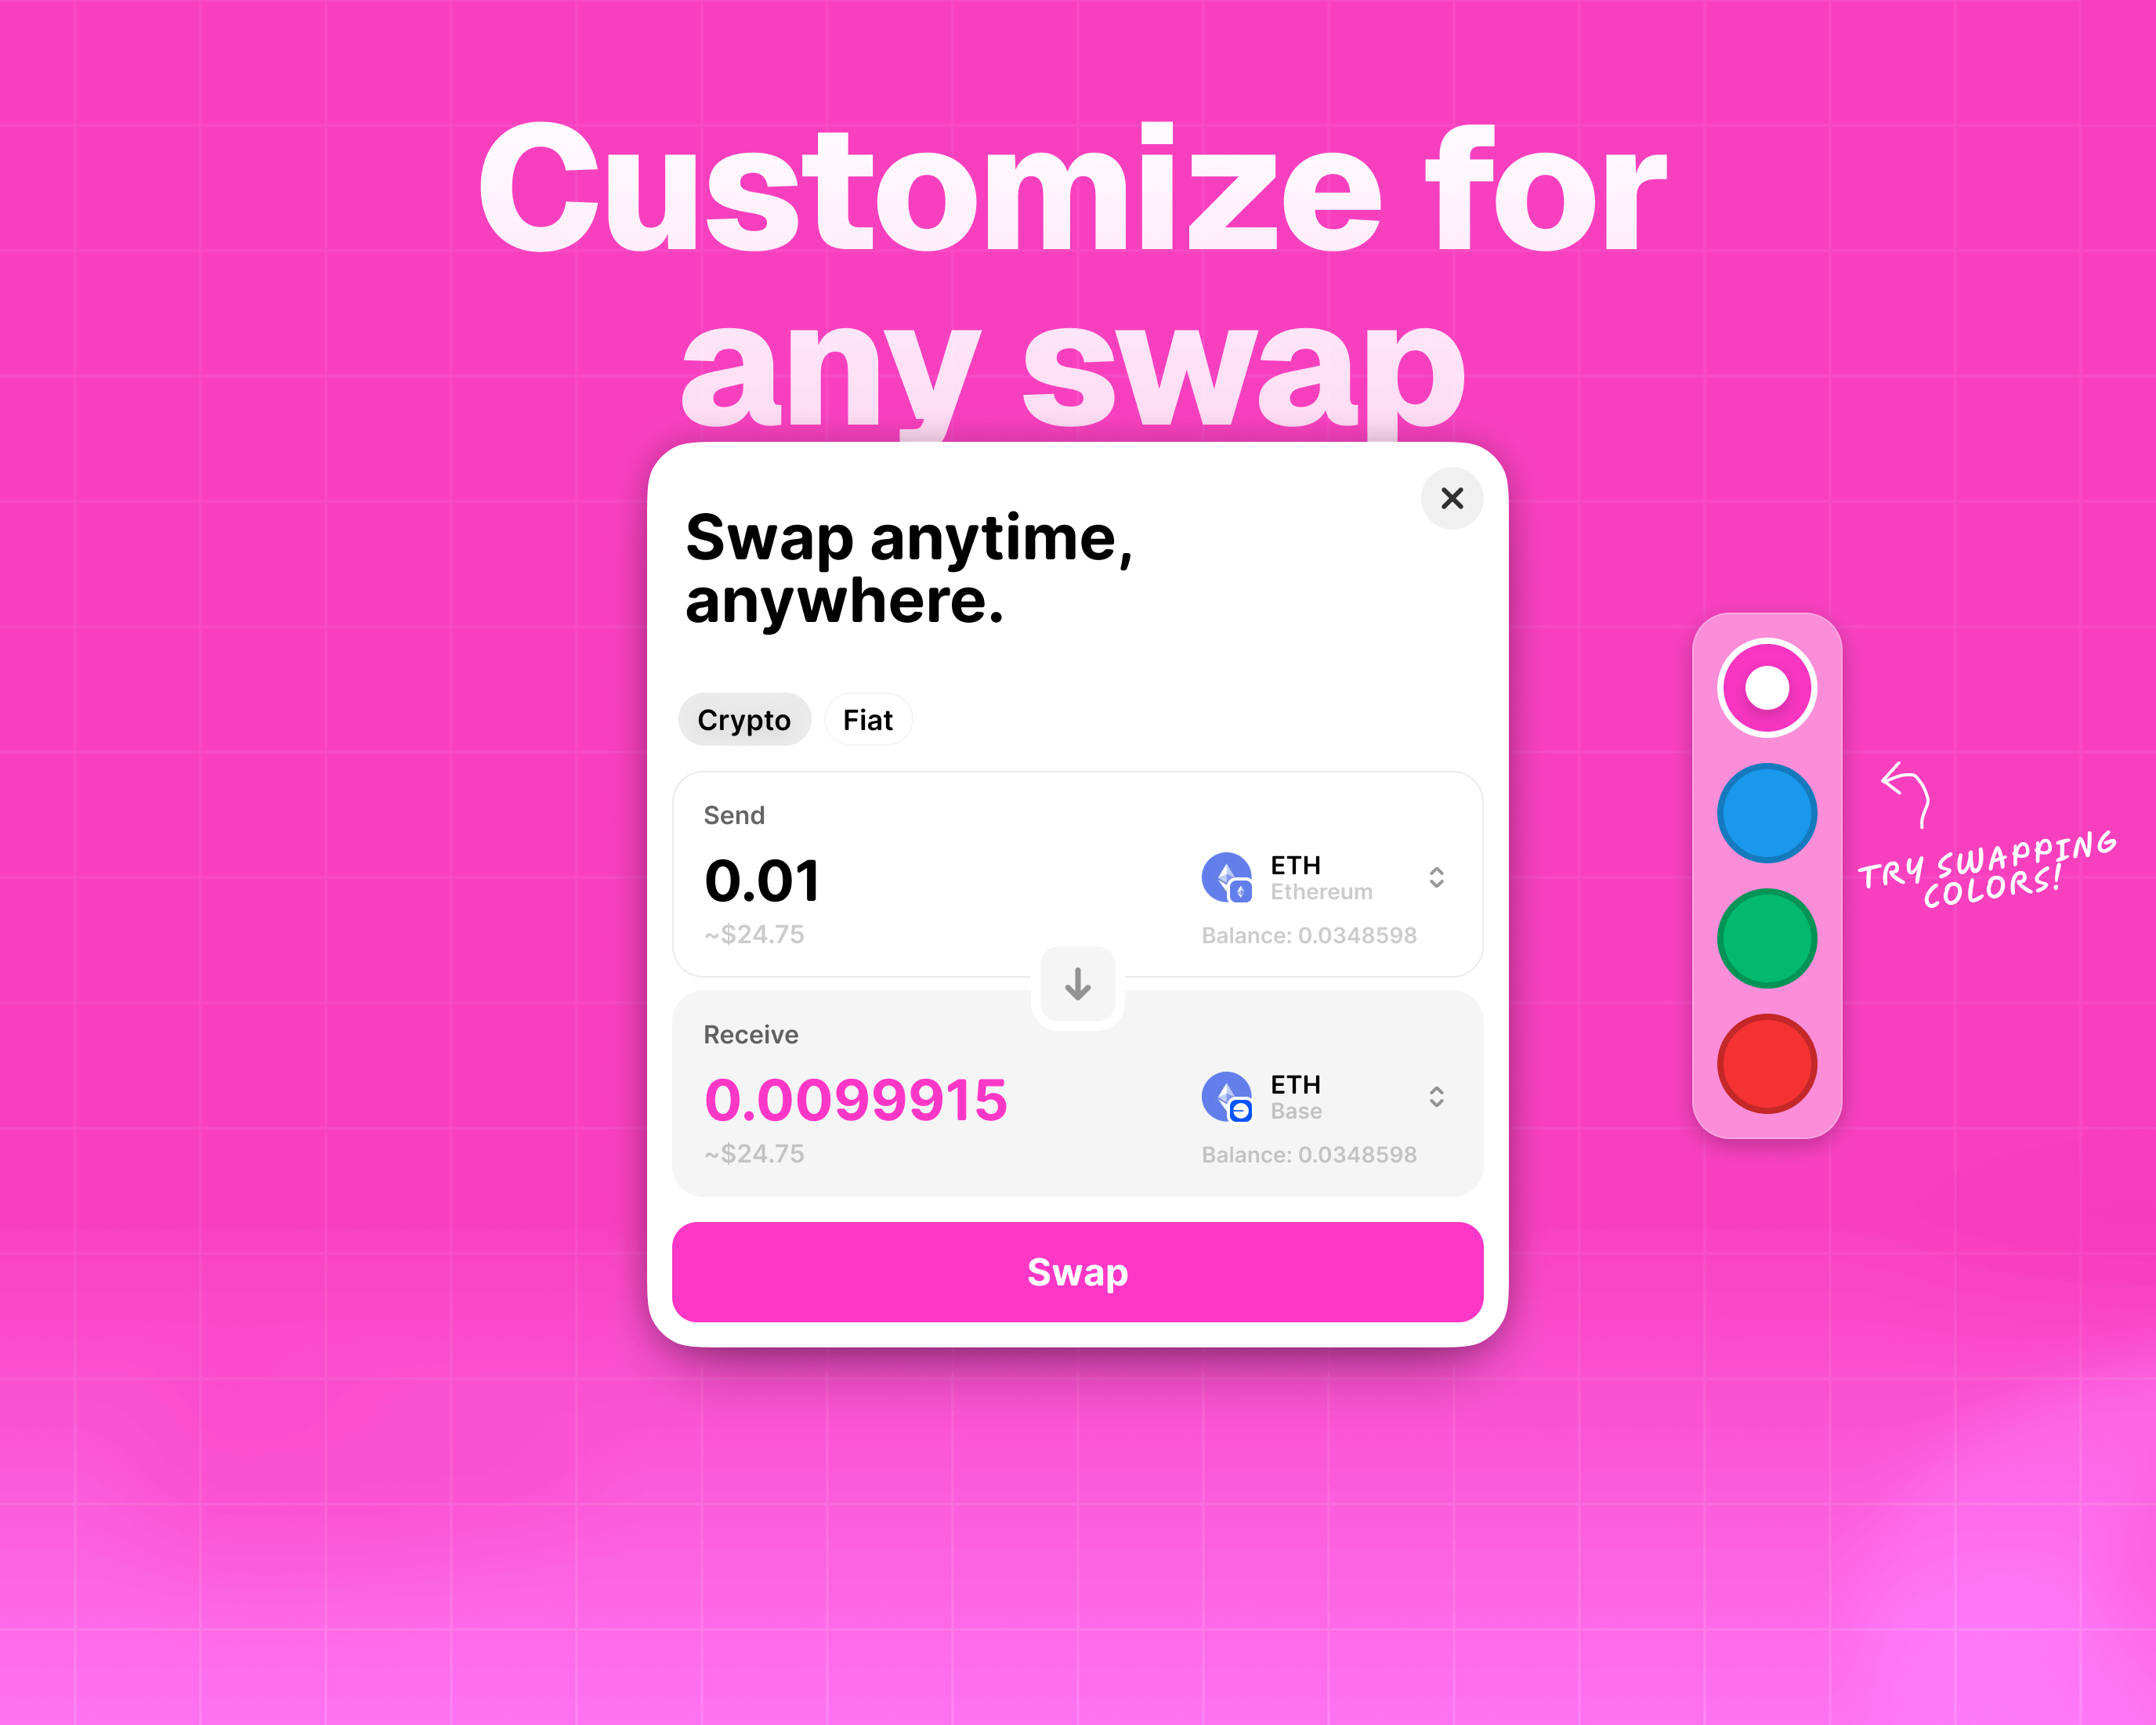
Cross-Chain Swaps
Enable users to swap tokens between different blockchains with automatic routing and best price discovery.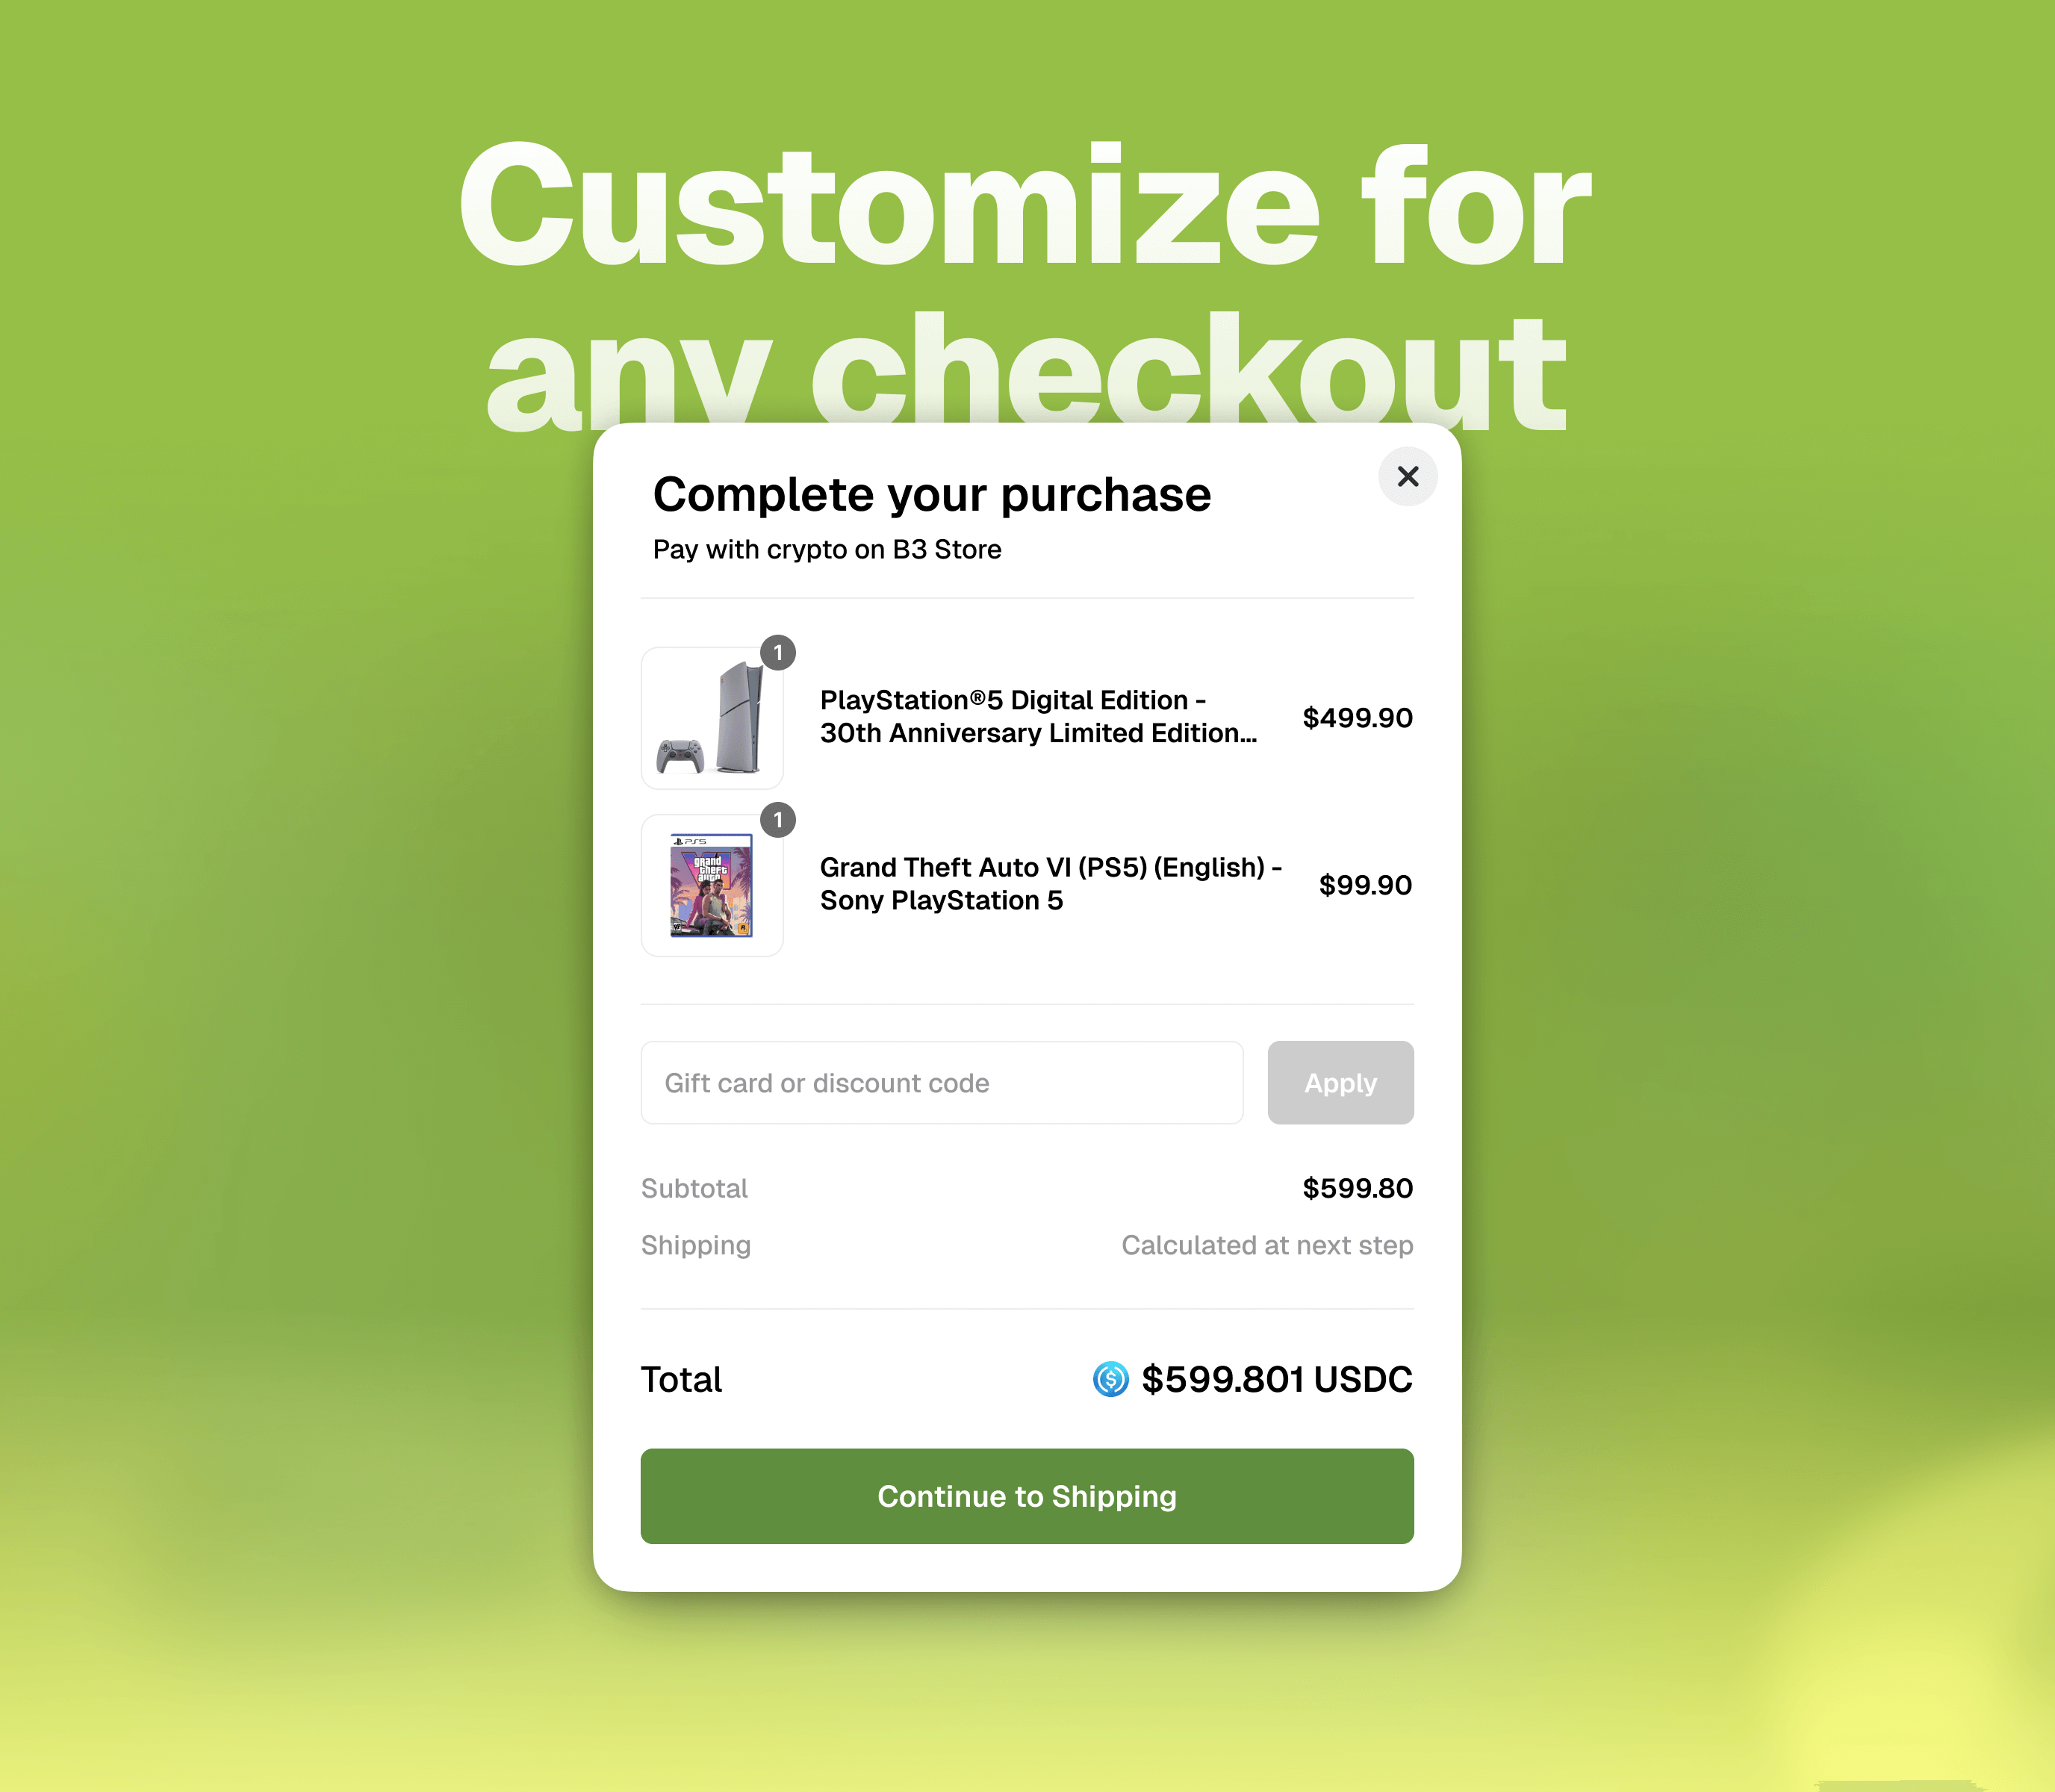
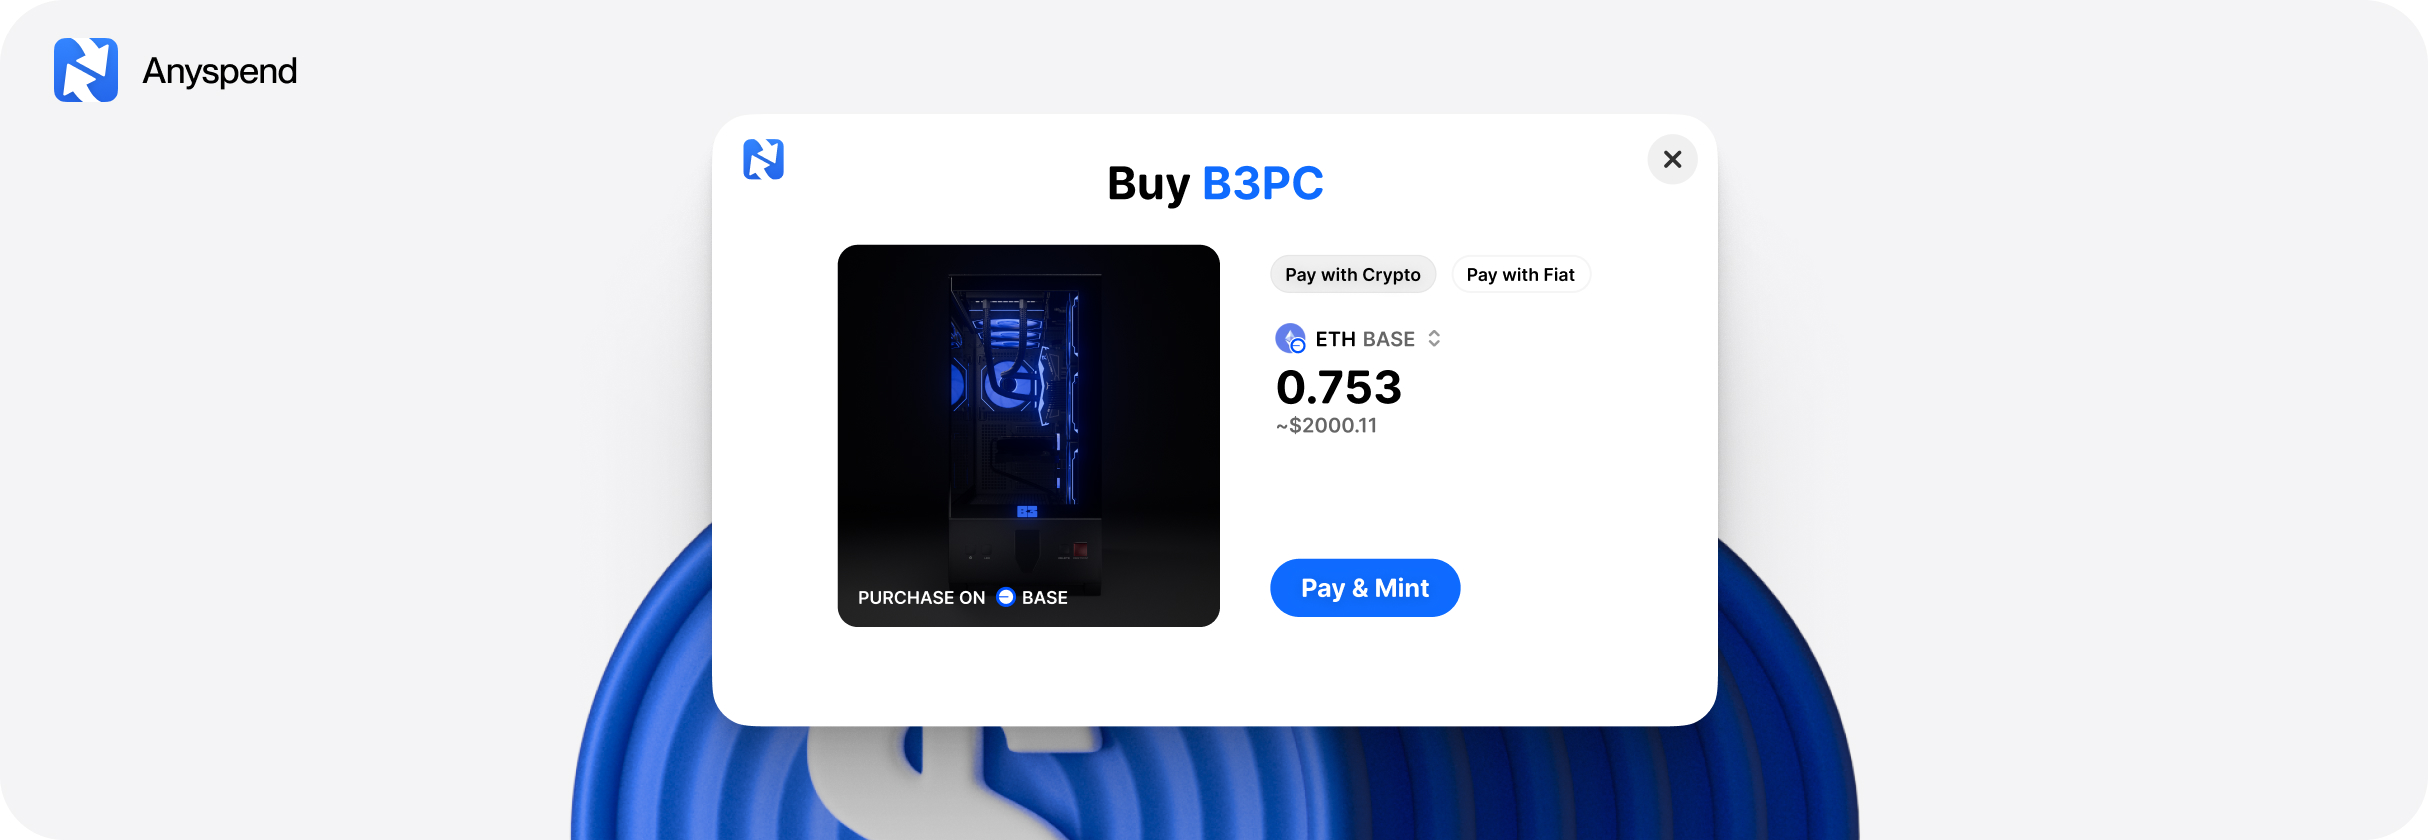
Checkout
One-click checkout buttons that accept any token as payment, with automatic conversion.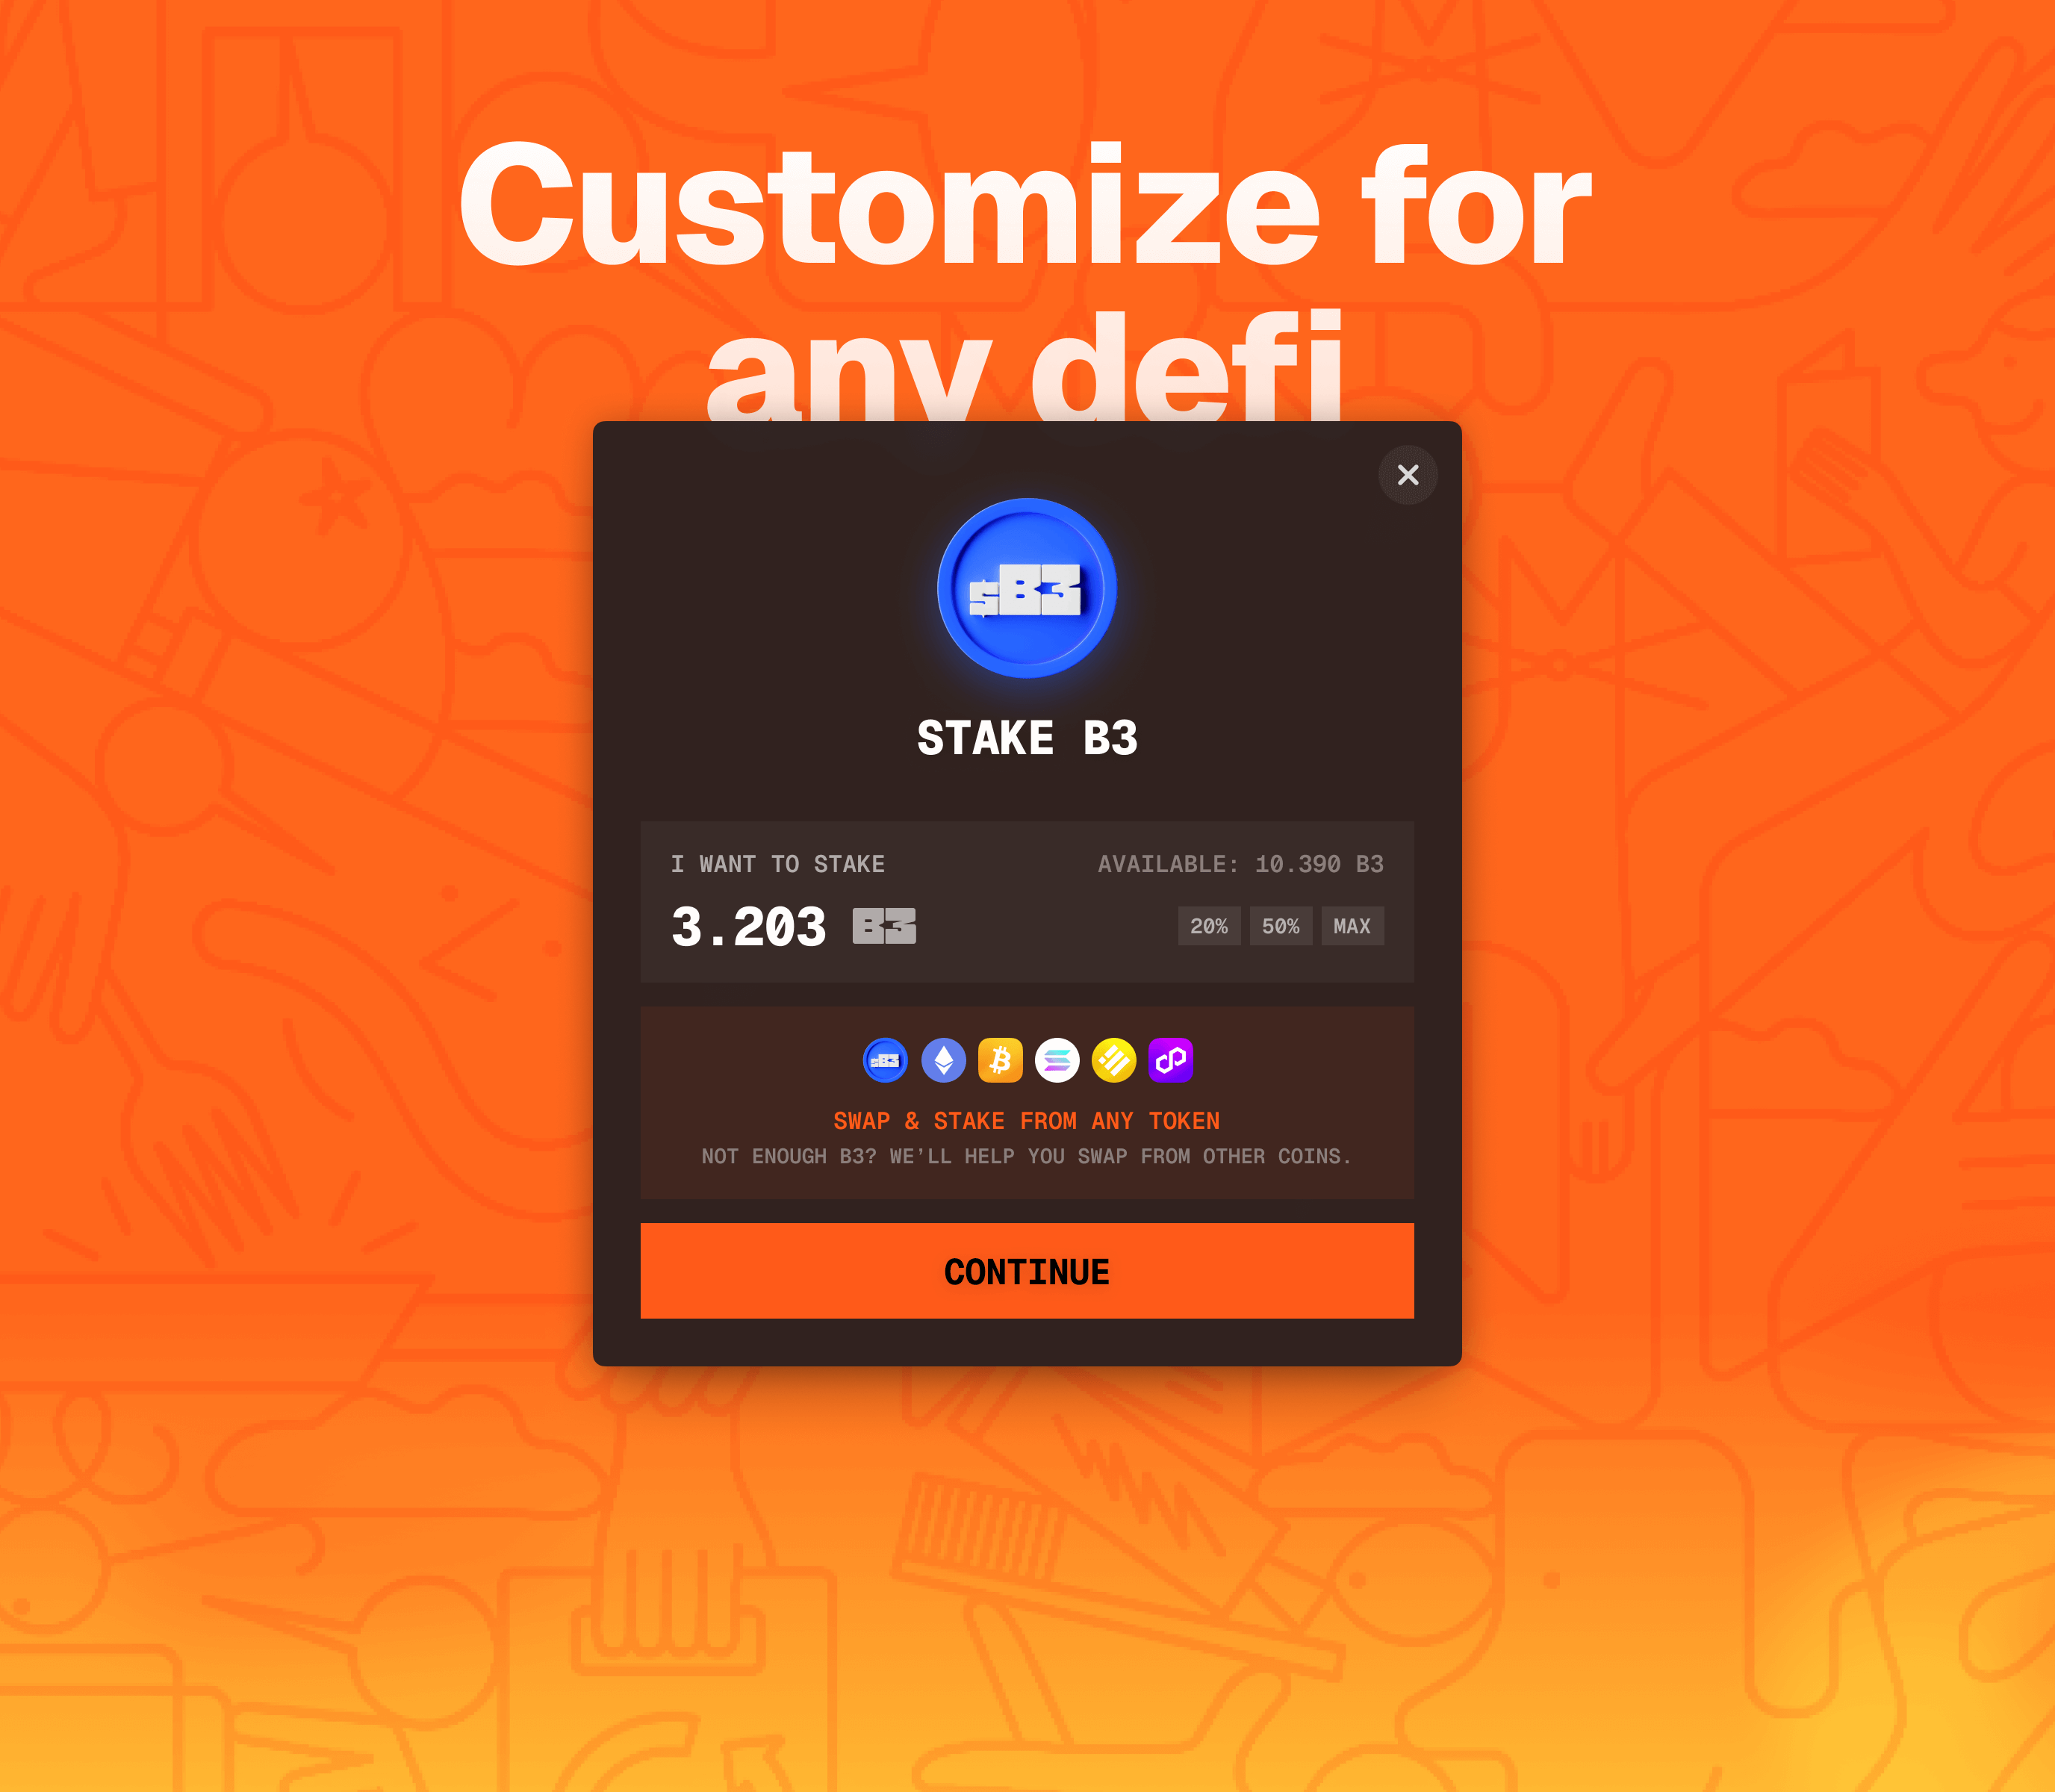
DeFi
Execute any onchain contract call, with usage for staking, prediction markets, bonding curves, and more.
Games
Embeddable in native iOS/Android, Unity, & other surfaces.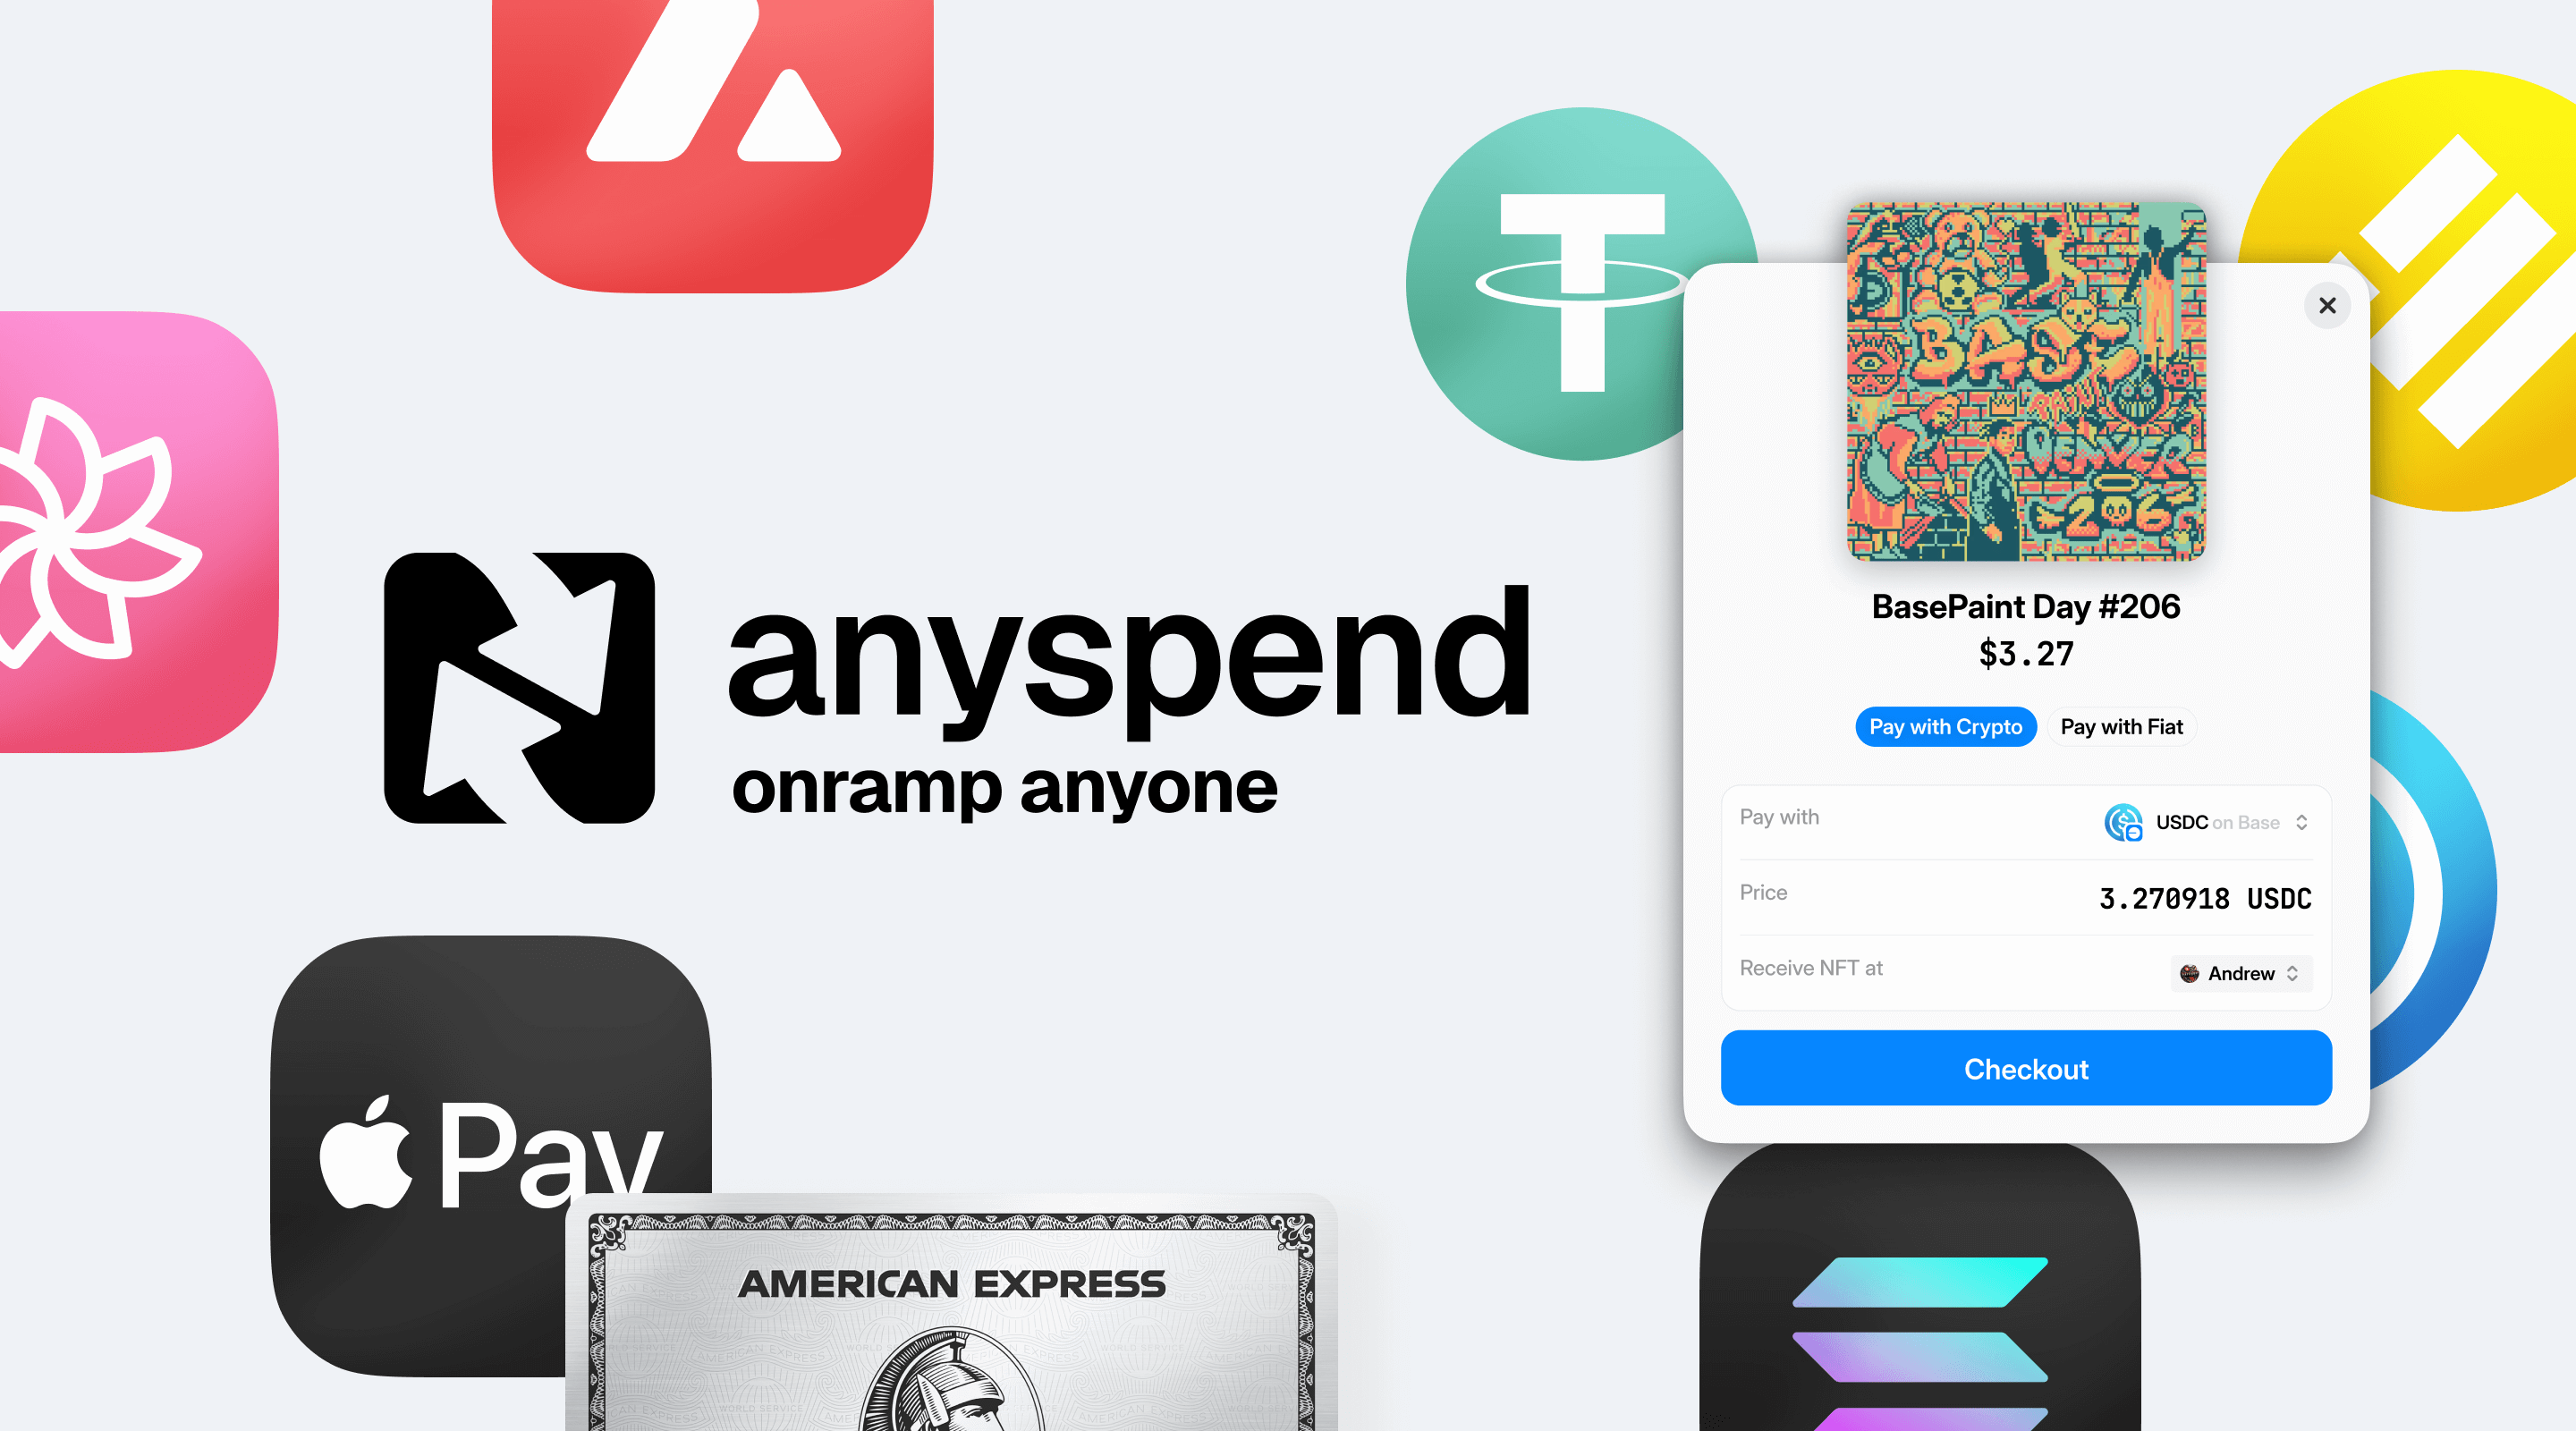


 ## What is Basement?
Basement is the gaming-focused layer of the B3 ecosystem, designed specifically for game developers and gaming communities. It provides:
## What is Basement?
Basement is the gaming-focused layer of the B3 ecosystem, designed specifically for game developers and gaming communities. It provides:
{getUserFriendlyError(error)}
Something went wrong
{getUserFriendlyError(this.state.error!)}
Create NFT Collection
{result ? (✅ Collection Created!
Address: {result.predictedAddress}